Last week I said I would give the how-to to make the temple pictures (with a frame) that are so popular these days (and expensive if you don't make them yourselves).
The pictures are labeled with This & That Creative because I will be using these images I photographed for this project as a future post on a new blog called
This & That Creative. Click
HERE to view this blog.
For a 16x20 print, you will need:
spray adhesive
a ten foot baseboard (for the frame)
wood glue
clamps or something heavy (to hold your frame in place while drying)
turn button hardware or good tape (to keep your picture in the frame)
sand paper
acrylic or spray paint (the color you want your frame)
16"x20" masonite board
paint roller
Mod Podge
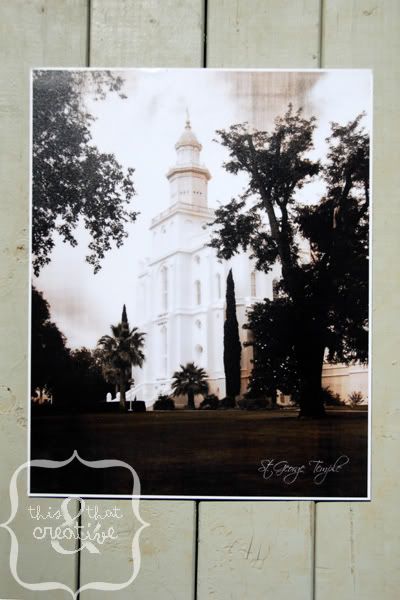
16x20 print of the picture you want to use---provided by Yours Truly ;)
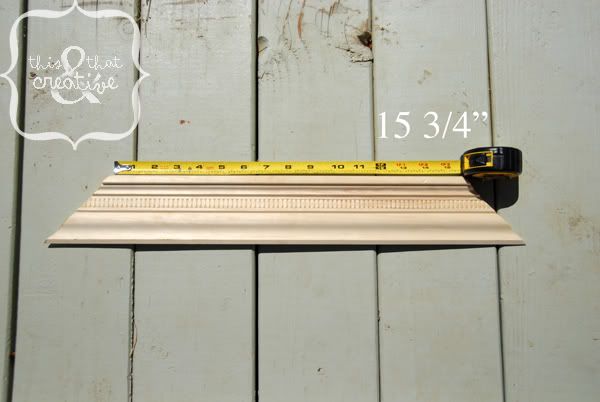
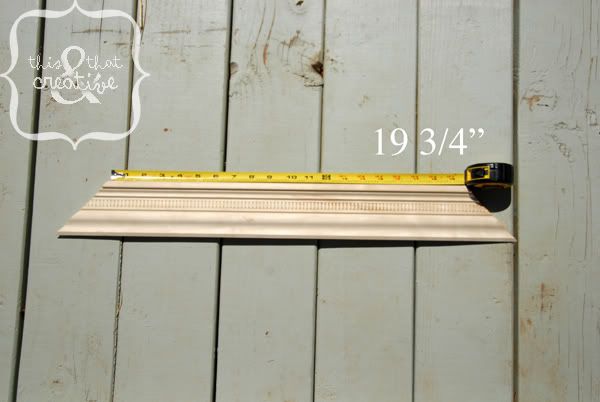
When you have all the items, you will want to start with the frame. My husband so kindly did this part for me with his band saw. You can also get your baseboard cut at Lowes or Home Depot for a small fee or free if you don't have your own tools for it. You will make your cuts at a 90 degree angle. Make sure to cut two pieces so that the inside measures 15 3/4" in length, and two pieces where the inside measures 19 3/4" in length.
Cut out two pieces like this:
Cut out two pieces like this:
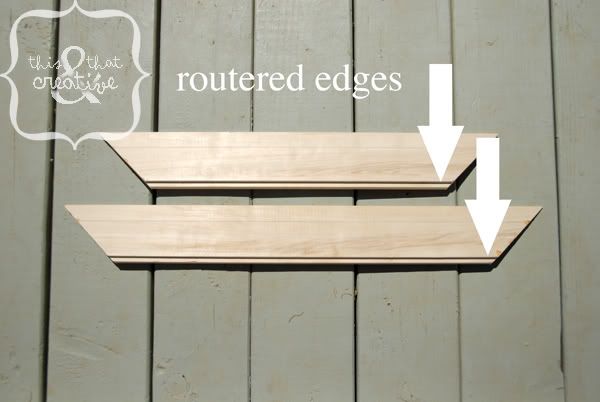
Router the back inside edge of each piece 1/4" in. This gives your picture a nice fit inside your frame. If you don't want to router the inside edges, you can still make it work, you just have to attached the picture differently.
This picture shows a long and short side piece of the frame. You will router all four pieces.
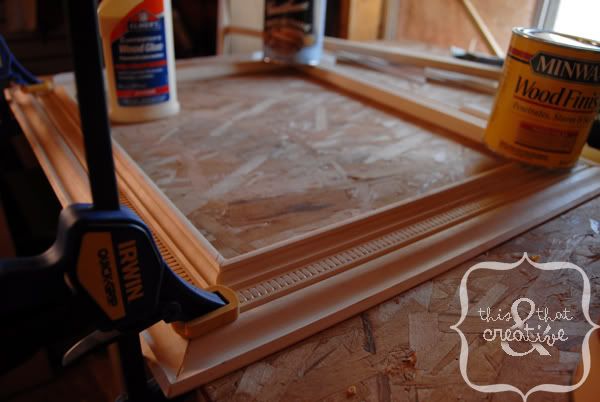
Now glue your frame together with wood glue. Clamp it in place on a flat surface or set something heavy on it while it dries.
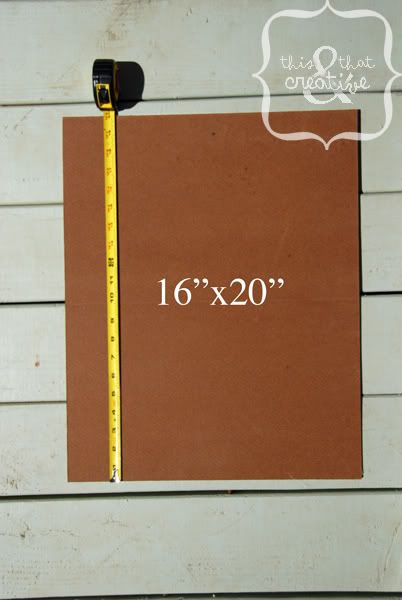
Take your 16"x20" masonite board and get ready to attach your print to it.
You will spray the board on the smooth side with the spray adhesive. Match the corner of the print to the corner of the masonite board and smooth your print over it. Use a popsicle stick or something similar to smooth out any bubbles. Be careful not to push too hard and scratch your print.
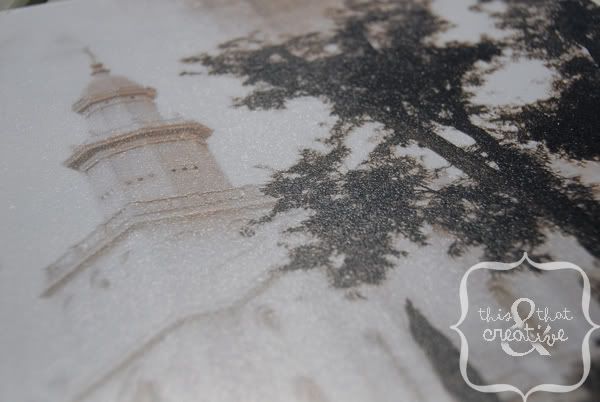
When your print is secure on the masonite board, you will then need to create the "canvas finish" on your print. This finish makes all the difference!
Take the Mod Podge and pour some in a paper plate or a paint tray liner. Take your paint roller and dip it in the Mod Podge getting a good coat on it but not too drippy. Roll the Mod Podge onto your picture just like you were painting a wall. You will need to go slowly because if you don't there is more of a possibility that the Mod Podge will bubble in the finish. You can do a few coats, but once the Mod Podge starts to dry, let it dry the rest of the way before you try to do another coat so you don't ruin the coat that is already there. When everything is dry, you can spray your picture with a matte finishing spray that you can find at Michael's, but it isn't necessary.
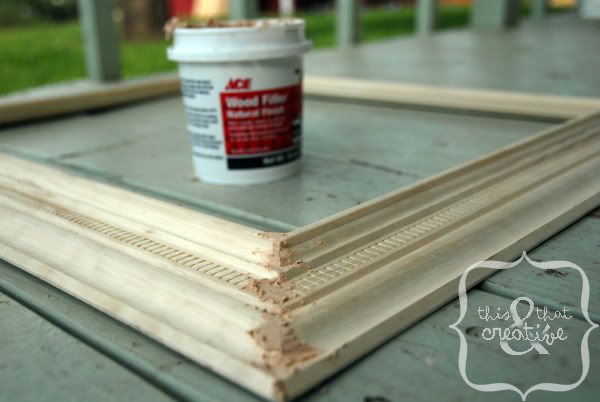
Back to the frame now. If there are any gaps where your frame corners connect, fill them with wood filler and let it dry.
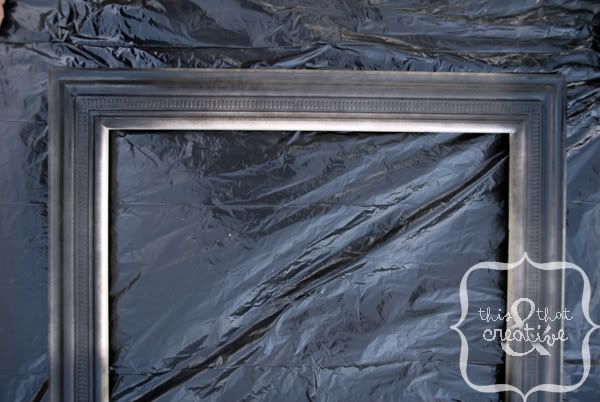
Now take your frame and sand any areas that may need sanding. You will now paint your frame the color you want. Be careful of wind and dust if you are spray painting outside. Use an even sweeping back and forth motion to spray paint. Don't spray too much in one area so you don't get an uneven look. If you are doing your project inside, you will probably not be spray painting, unless it is well ventilated. You can also use regular acrylic paint and use a paint brush to apply your paint.
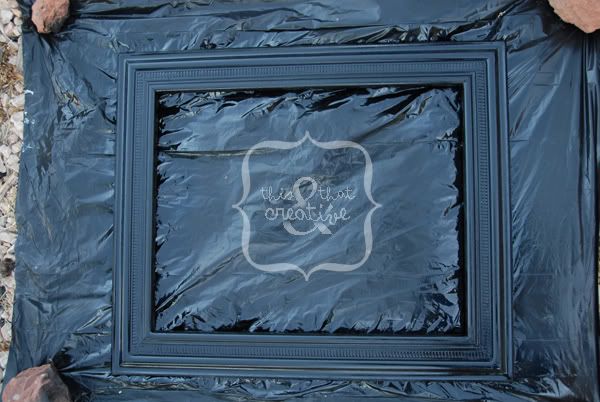
I like glossy black paint, but choose whatever your preference is. Do as many coats as you want, letting each coat dry before you do your next coat or your paint will bubble. When you are happy with the painting job, let your frame dry.
You can also coat your frame with a gloss finishing spray for a more finished look if you want.
After everything is dry, insert your picture in your frame and secure it with turn button hardware or tape. If you didn't router the inside edges, you can use a staple gun to secure your picture on the backside of the frame. Just be careful to not staple it in a place that your staple may show through on the other side.
There you go! Go ahead and make your own! I am hoping to get some shots of other temples to give you more options of what temple to do.
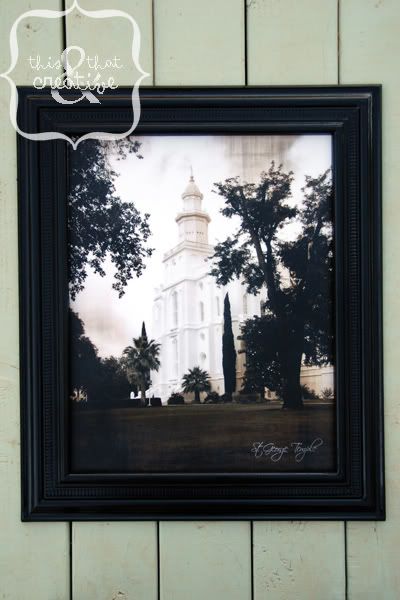
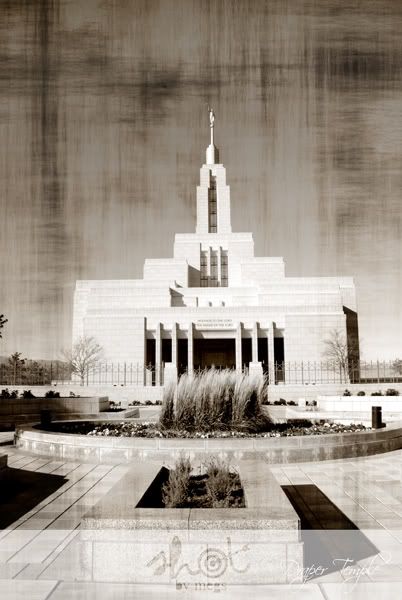
Here are the other temple prints that I have available:
Draper Utah Temple
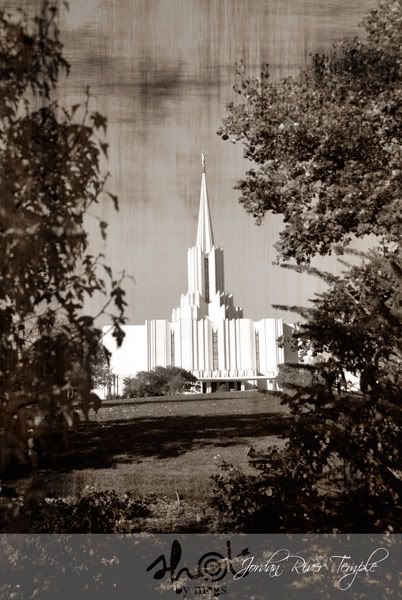
Jordan River Utah Temple
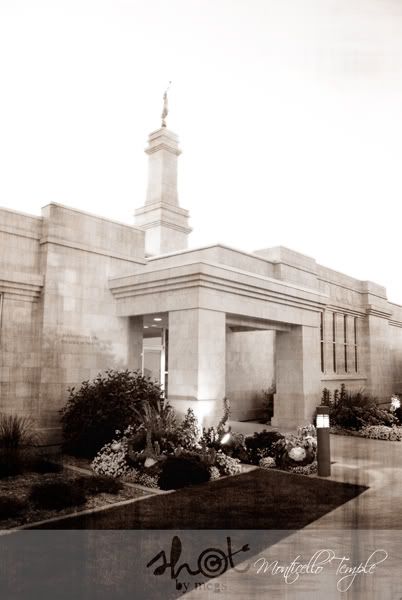
Monticello Utah Temple
Oquirrh Mountain Utah Temple

Here are my current prices for prints, etc.
8x10................................$10.00 +shipping
11x14..............................$15.00 +shipping
16x20..............................$20.00 +shipping
20x30..............................$30.00 +shipping
(20) 8x10.........................$100.00 +shipping ($5.00 each)
(20) 11x14.......................$200.00 +shipping ($10.00 each)
(20)16x20........................$240.00 +shipping ($12.00 each)
(20) 20x30........................$400.00+shipping ($20.00 each)
Canvas Finish Temple Print with Frame
8x10................................$50.00 +shipping
11x14..............................$75.00 +shipping
16x20..............................$100.00 +shipping
Please contact me by phone or email with your orders, and I will get back to you with your total and order confirmation. I provide convenient payment through Paypal or checks through the mail. If you live in the St. George, Utah area, you can have the option to pick up your order or have it mailed.


No comments:
Post a Comment